 A week ago, I was walking around and noticed some vibrant flowers growing in a park. There were various shades of pink and I knew I had to try to extract some pigment from them. The ink you can make from them is low-cost, as all you need to buy is distilled white vinegar (I already had some around the house) and an essential oil (optional). Materials Needed:
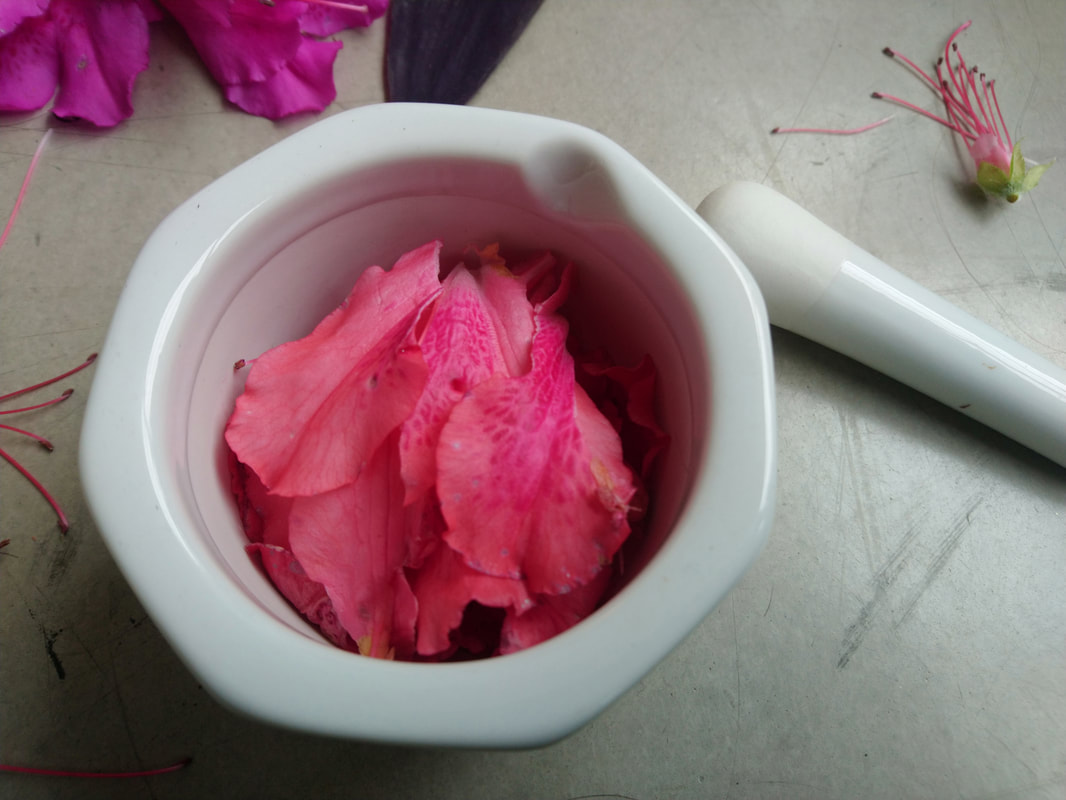
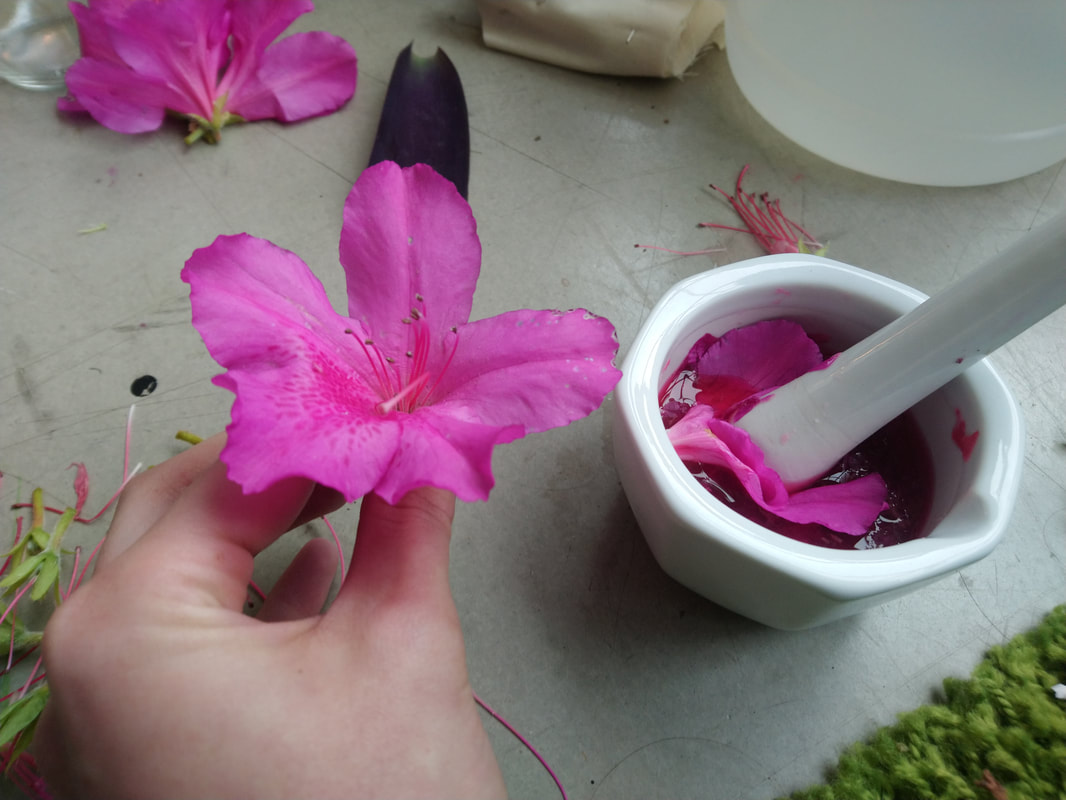
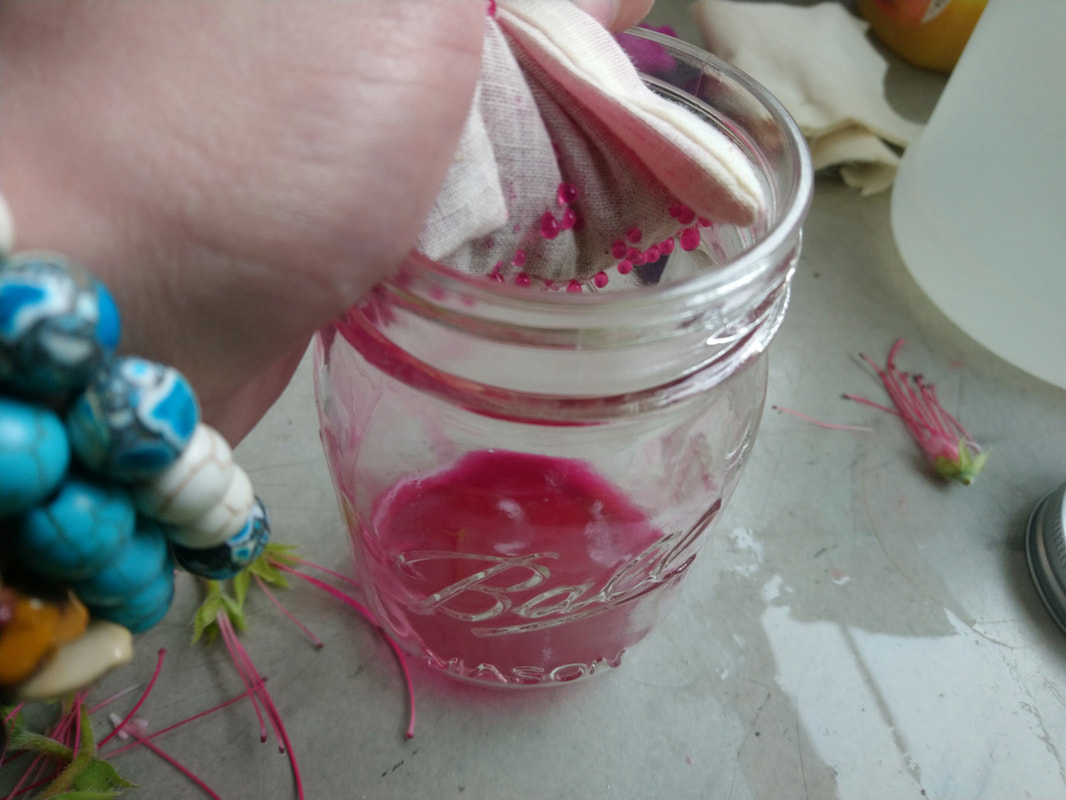
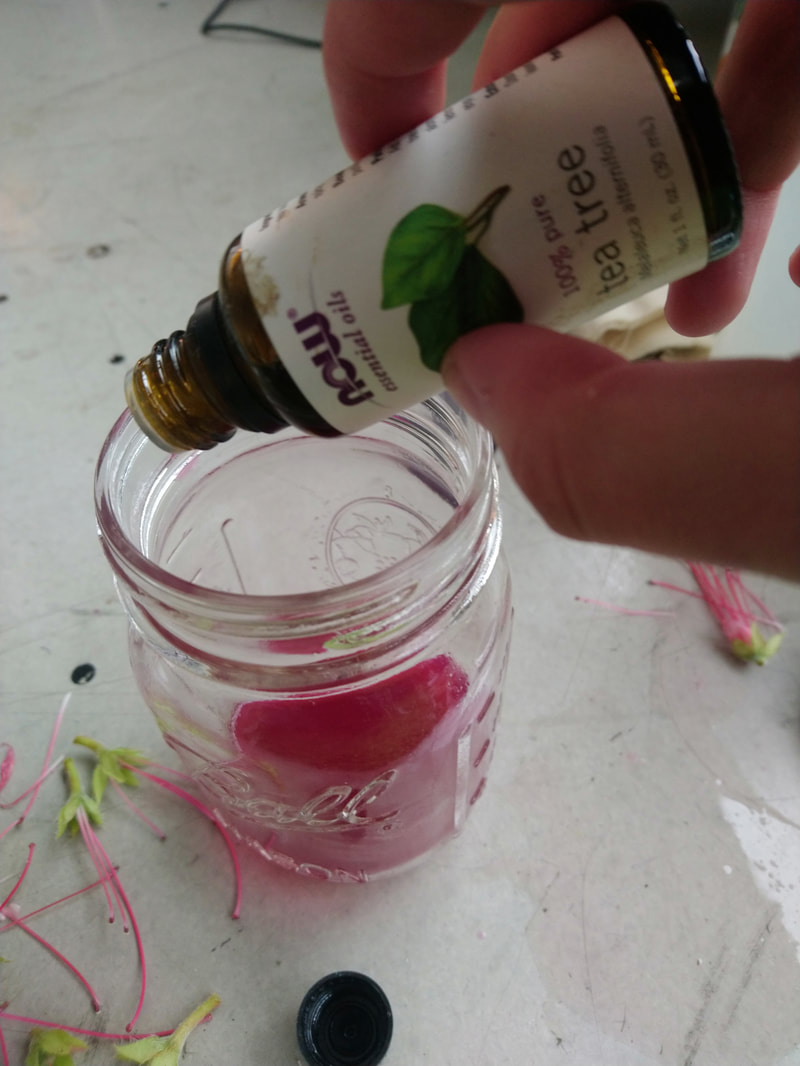
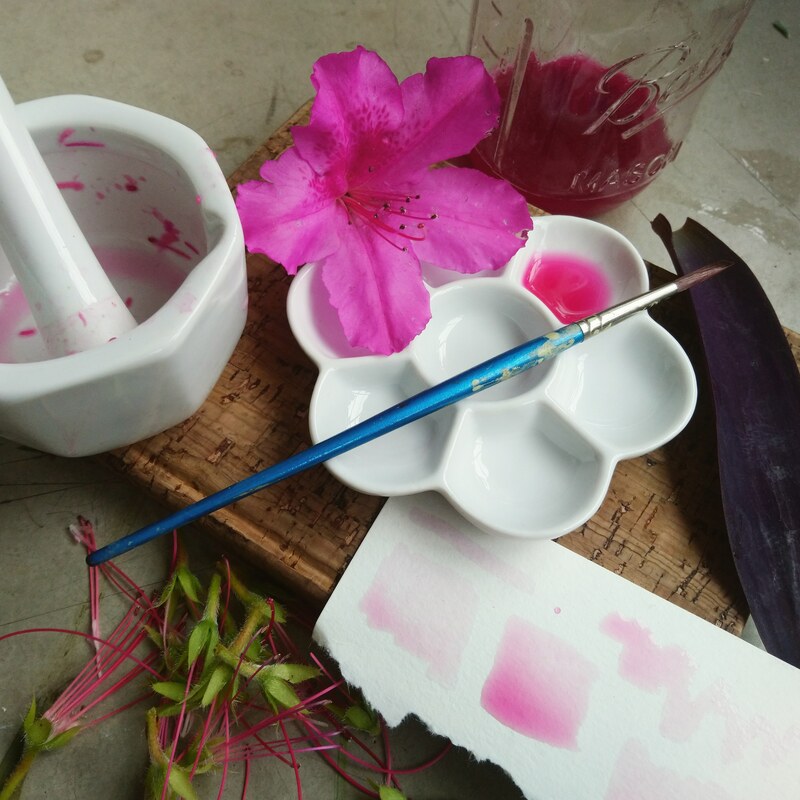
Wherever you go, chances are there`re flowers growing somewhere-they may even be in your yard! Scrounge around for some specimens, there is no rule to what you should pick. Different colors will produce different results and it`s fun to see the variations you can achieve. While I picked pink/ purple pink flowers, and my ink while wet looks pink, dried, it transitions to a beautiful purple-indigo. Experiment with the world around you. Ensure that you gather fresh, un-wilted specimens, and about two handfuls. 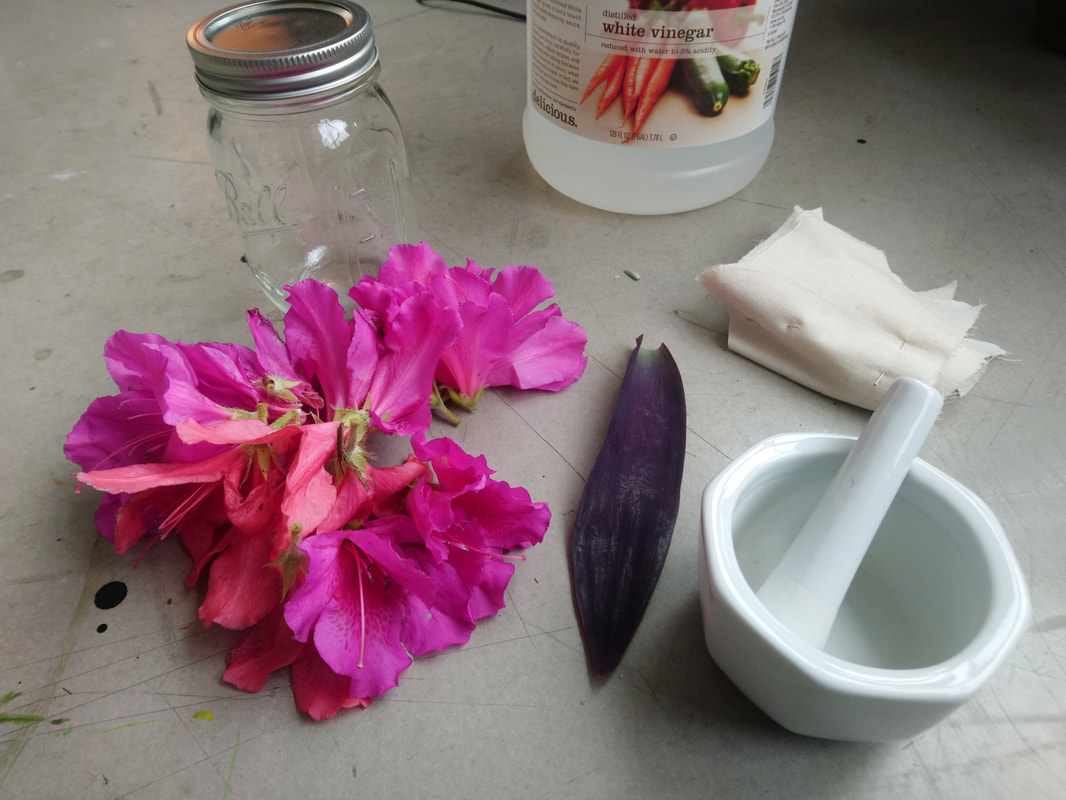 When you return home (or have your materials, this is also easy to do outside), pull the green stems and bits off your plants. I chose to pull the petals and use them, instead of the stamens, but you can play around with this. Place a good amount of petals in the bottom of your mortar and pour about a Tablespoon or two over top them. Take your pestle and work some elbow grease, working in circular motions. The more thorough you are, the better pigmented your ink will be. As you continue, add more petals into the mixture. If you find that you need more vinegar, feel free to add it. It`s easier to start with less so you can control the color more effectively. Upon incorporation of the petals, it`s time to strain out your new ink! Take your fabric or fabric bag, fit it over your jar (or any medium-small-mouthed container. Either hold in place with a rubber band, or the lid so it won`t fall in. If you`re using a strainer, skip this step. Pour your mixture through the strainer or fabric, getting all the bits. With your hands or the pestle, squeeze or push the liquid through into the jar. Try to get as much of the liquid through as you can. Remove the solid material and compost it. With the remaining liquid, to better preserve it, add two drops of tea tree or thyme oil. This will help prevent molding. At this point, you can either gather more petals, add different colors, or change the ratio of vinegar to edit the color. Shake well. Grab some paper (I used watercolor paper) and a brush and try out your new ink! As there are countless species and shades of flowers, there really is an endless array of colors that you can achieve. As mentioned earlier, the wet vs. dry color pay-off can be a surprise to you. Different mixtures will have different results and this is definitely half the fun. While I wasn`t expecting the blue, I quite enjoy it. See what you discover, either way, every new flower will seem a new opportunity.
You can store this ink for a few months in an air-tight jar or bottle for later use.
1 Comment
Renee
30/3/2019 06:08:37 pm
Love the clean look and the detail of your blog. Very helpful information. Leave a Reply. |
Archives
September 2023
Categories |


 RSS Feed
Lost in the Woods
All Rights Reserved
©2023 Lost In The Woods (Ariana Bennardo)
©2023 Lost In The Woods (Ariana Bennardo)