|
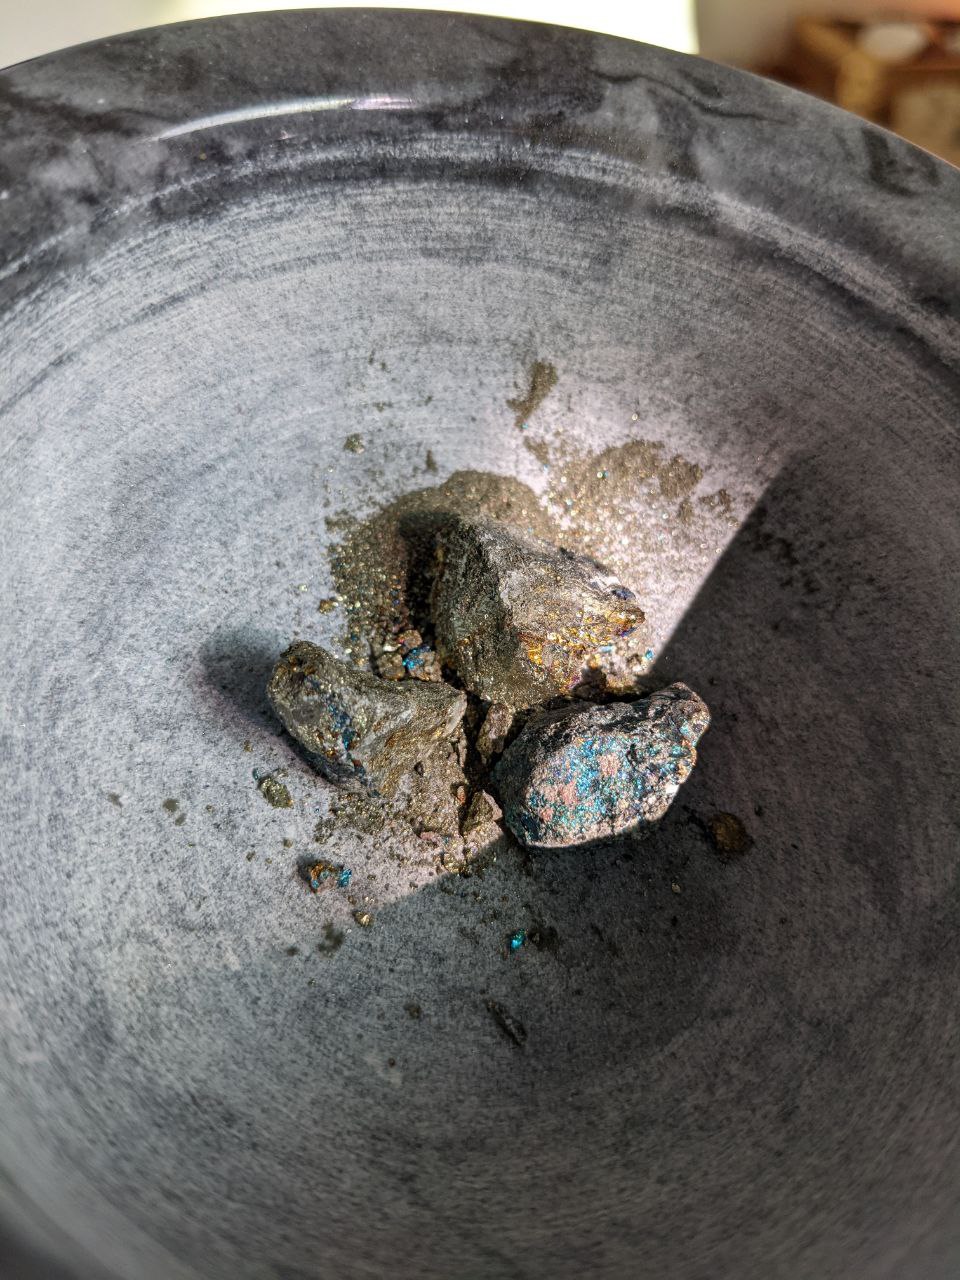
Long have I enjoyed the process and workings of turning found materials into art materials. A fun, hands-on way to interact with the natural world and alter a substance to then later use, paint making has called to my heart for years. Here is just one of the paints I have made from a natural specimen (in this case, Peacock Ore), and the process that went into it. I hope it inspires you to try, or even evokes a new appreciation for my work! 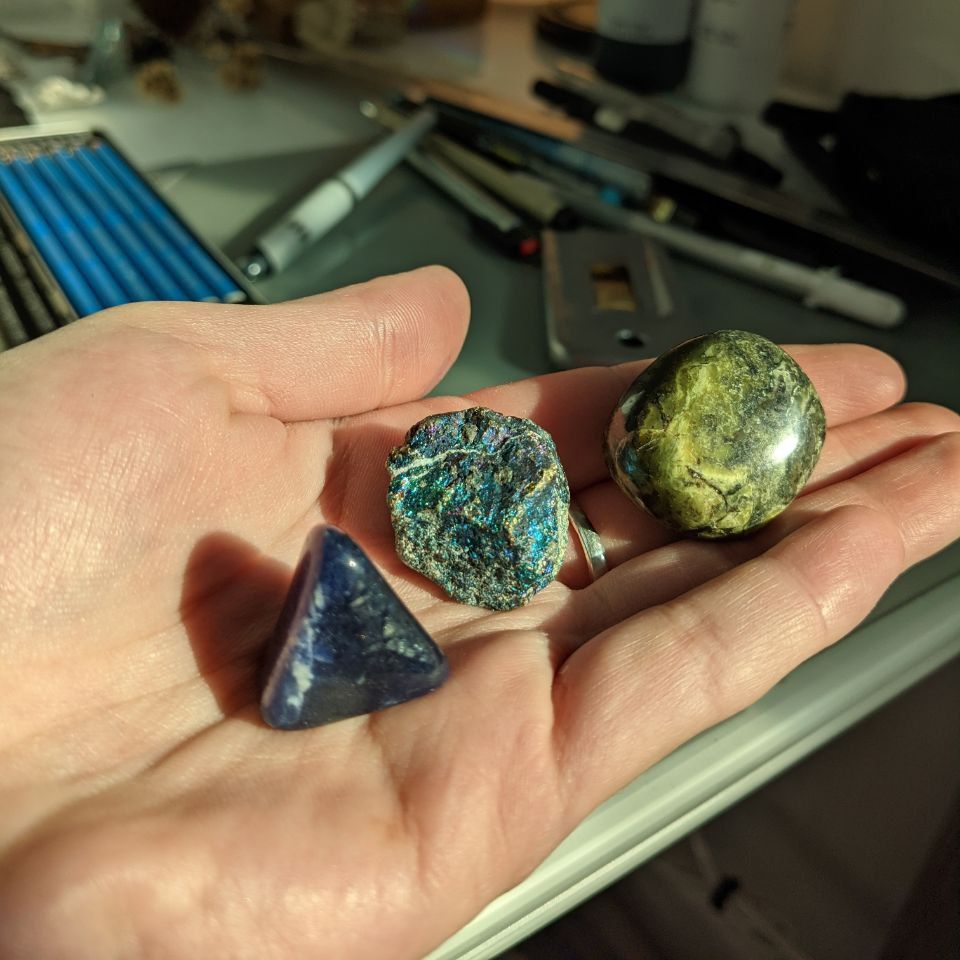 While some of my paint making expiriments have come from found rocks or even dirt, this particular experiment came from some bought rocks. I loved the way the peacock ore glinted and shimmered in the light, and I just had to know how this specimen would translate as a pigment. Once I selected my victim, I hopped right to making a binder (the additive that controls how the pigment reacts with a substrate, and ensures adhesion). 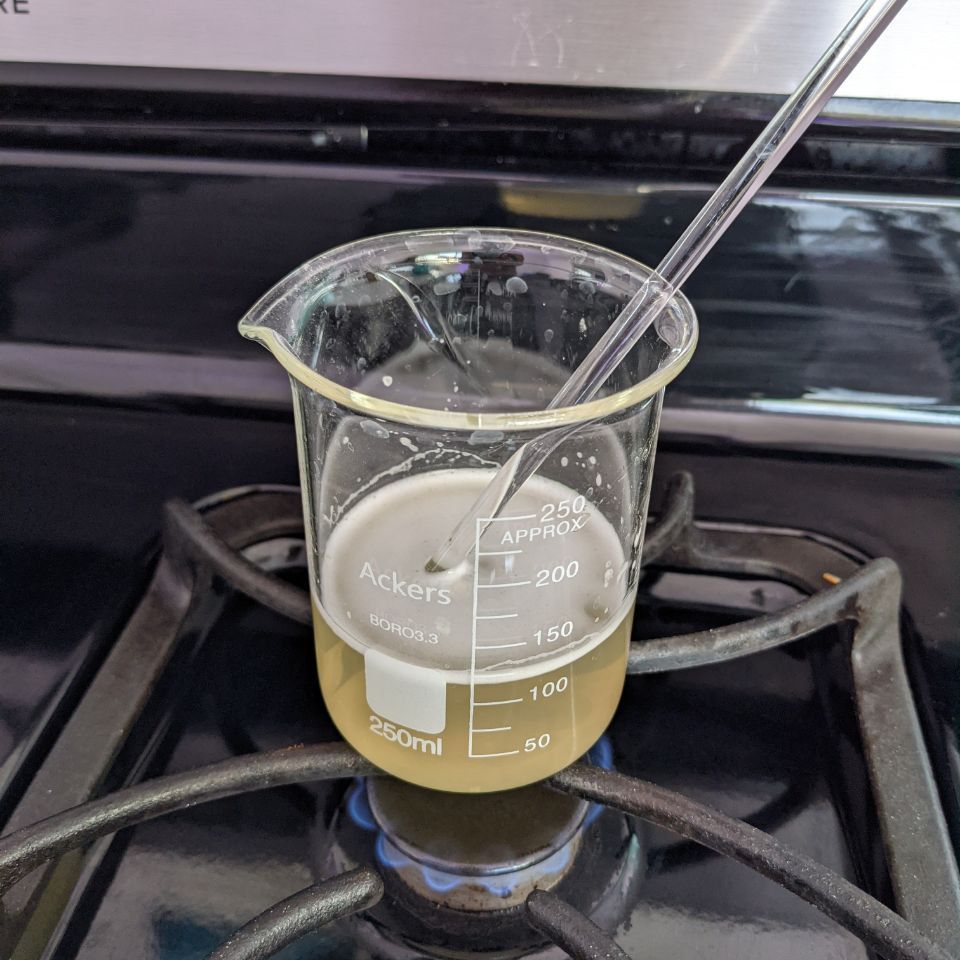 With a 250ml beaker, a gas stove and glass stirring rod, I combined the following;
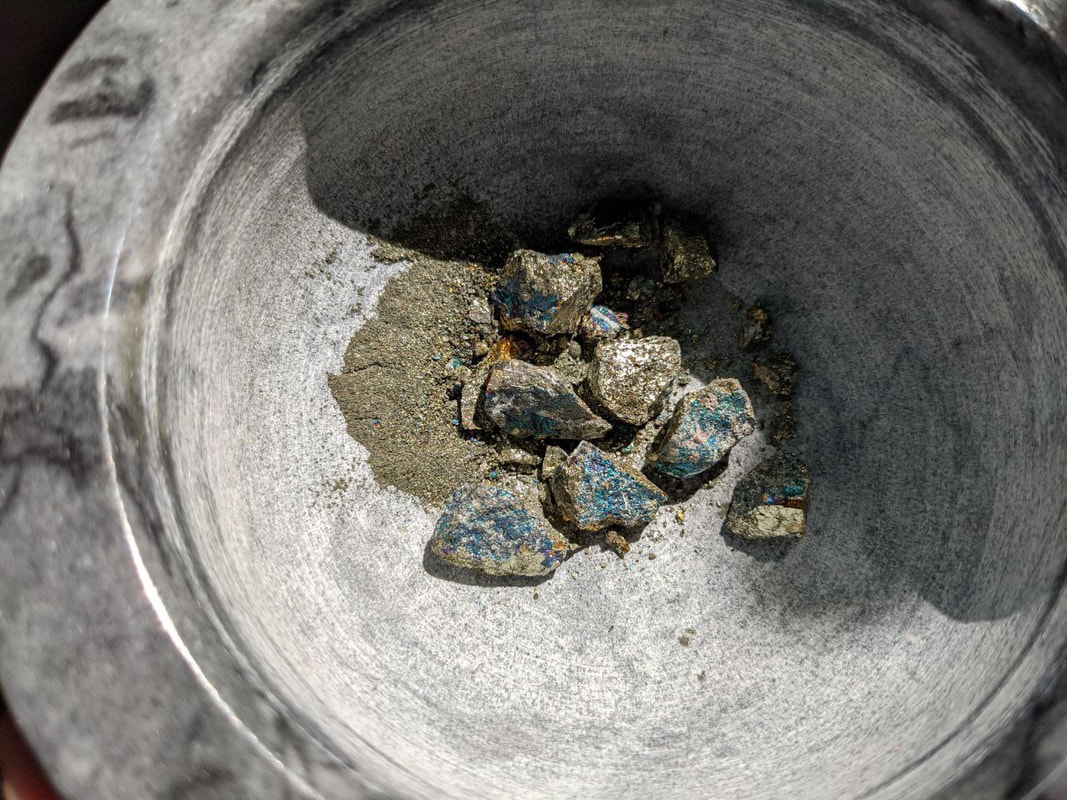
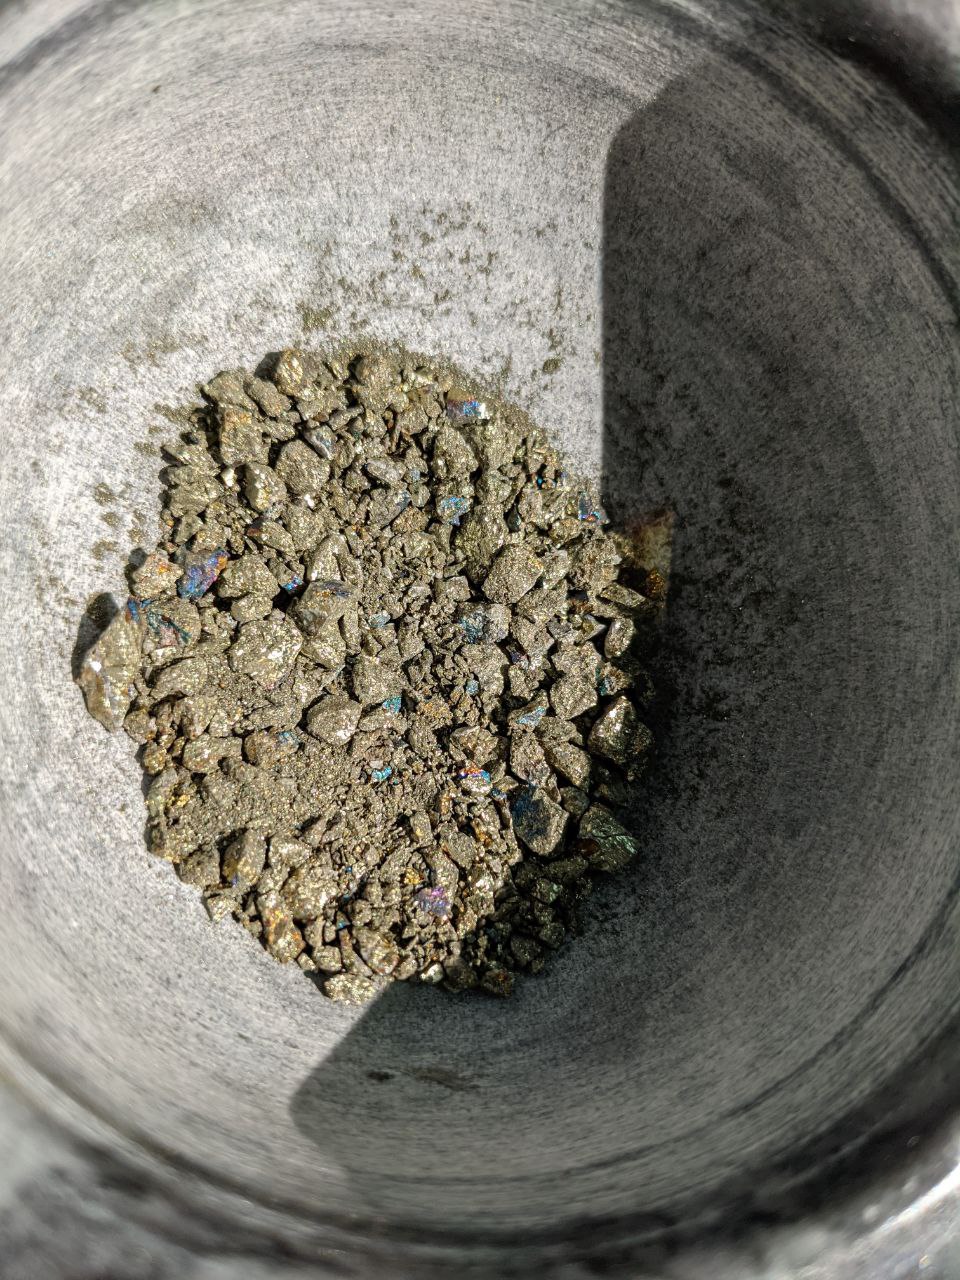
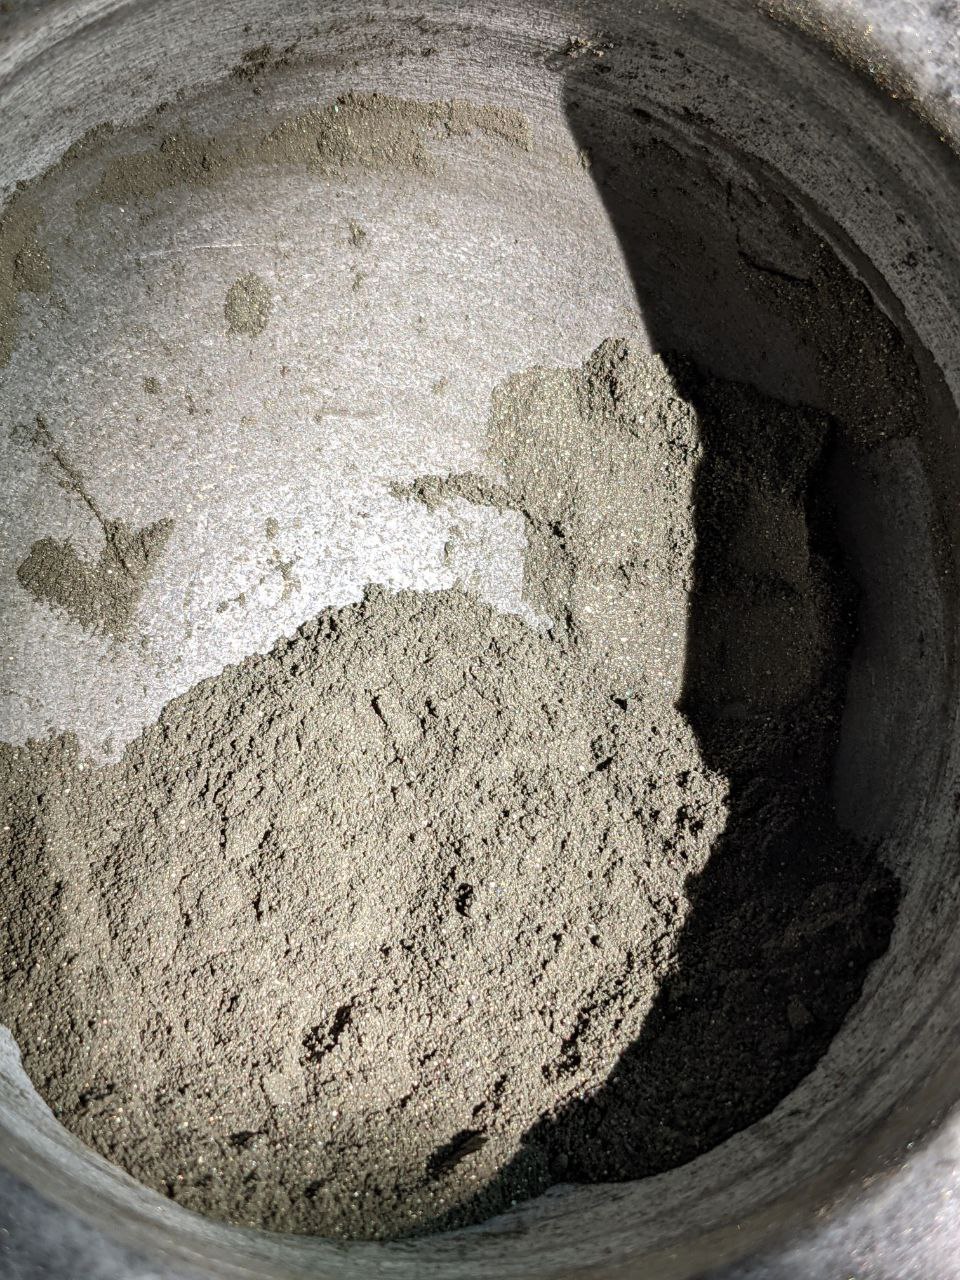
With this particular stone, I wore a particle filter mask and did this process outside, as your want to protect your lungs from any dust or debris that can (and will) result from breaking down. In a designated mortar and pestle, I firmly hammered down the stone, breaking it into smaller pieces. I continued this process until there were multiple smaller pieces, then moved in firm circular motions to further refine. This process takes a while, depending on your chosen material, which may protest more than not. Keep at it, working until you achieve the finest powder you can. It may help to parse off half or a third of the material, and work on the remainder at a time. The goal is to achieve a uniform, fine powder. Upon getting my pigment to a fluffy power, I piled it into a mound, using a palette knife to control the shape (set aside some pigment for now) . With the tip of the palette knife, I dug out a hole in the center, similar in the way a baker will hollow out a mound of flour to add into. Taking the now cooled binder, with a dropper, I slowly started adding it to the center of the mound, pushing the mixture around and into itself with my palette knife. The trick is to start with less, and add more as you go, up until you reach your desired consistency (I love buttery watercolors, so this is what I was aiming for). While I promise this happened, unfortunately I don`t have the images of me mulling the paint...regardless, with a muller on a slab of glass, apply even pressure, working in circular motions to fully blend your materials. Again, this takes time, enjoy the process and meditative motions of mulling, lulling you to your zen...or at least closer to your own, home-brewed paint. Once you reach a point where you are satisfied, grab a paint brush, and some water, it`s time to test out your work and fine-tune if need be. This is where you can also experiment with the ratios, potentially adding more of your set-aside pigment, or more binder. When you`re satisfied, scoop your paint into a pan...or, in my case, a shell since I didn`t have the foresight to acquire a designated pan for this.  Let you paint dry in the pan(shell) overnight before storing, but you can feel free to play around with it now! While I expected a blue/purple pigment, I ended up with a complex slate grey, with golden flecks that jump out in the lighting. For some fun science, Peacock Ore is a copper ore mineral, also known as Bornite. Due to it`s copper composition, the iridescent look increases as it tarnishes in the elements. My hope with my specific paint, is that it becomes reactive with it`s environment and evolves with time. 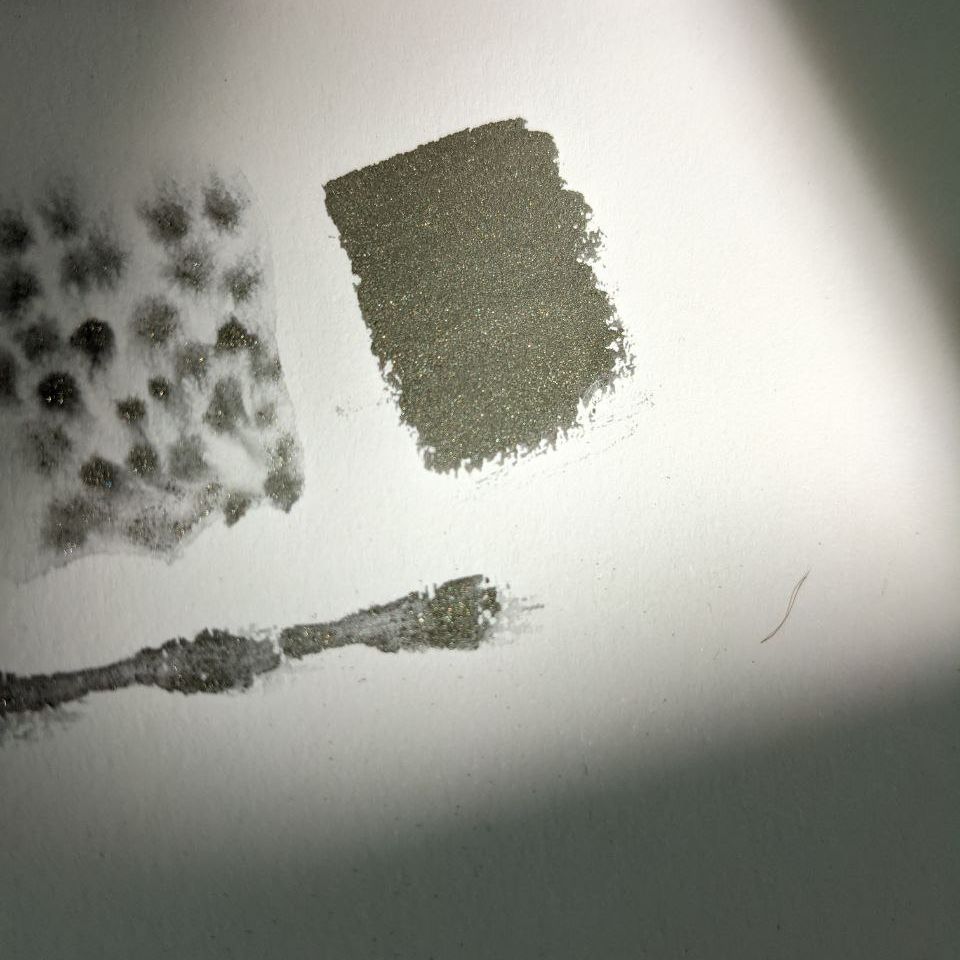 Below is a watercolor painting in which I used the Peacock Ore paint I`d made in the interlocking cholla wood branches. Hopefully, since I left this piece unsealed, the paint will tarnish and patina with time! 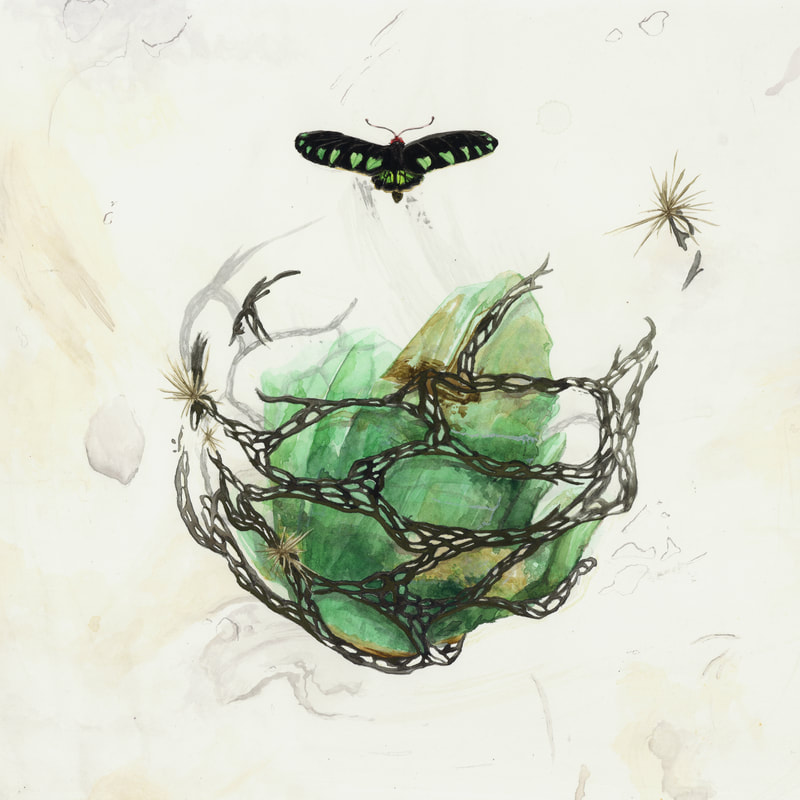 Materials Used:
0 Comments
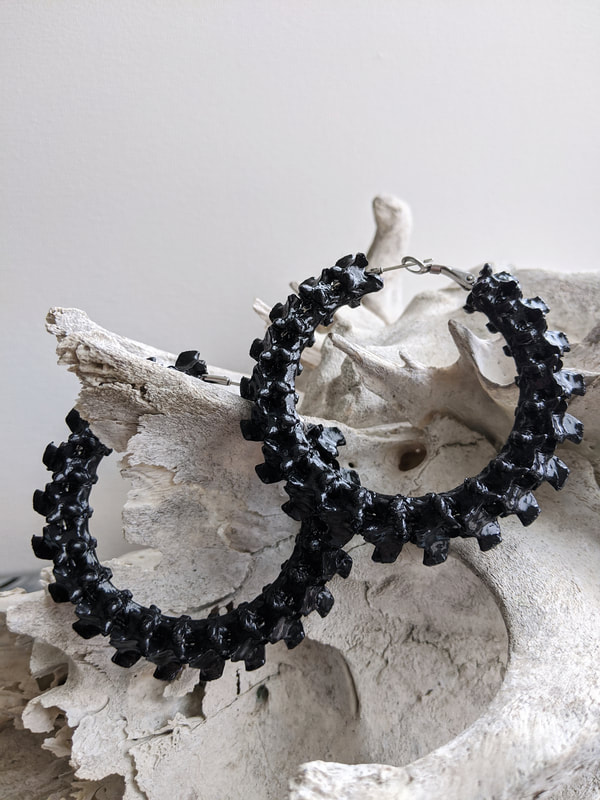
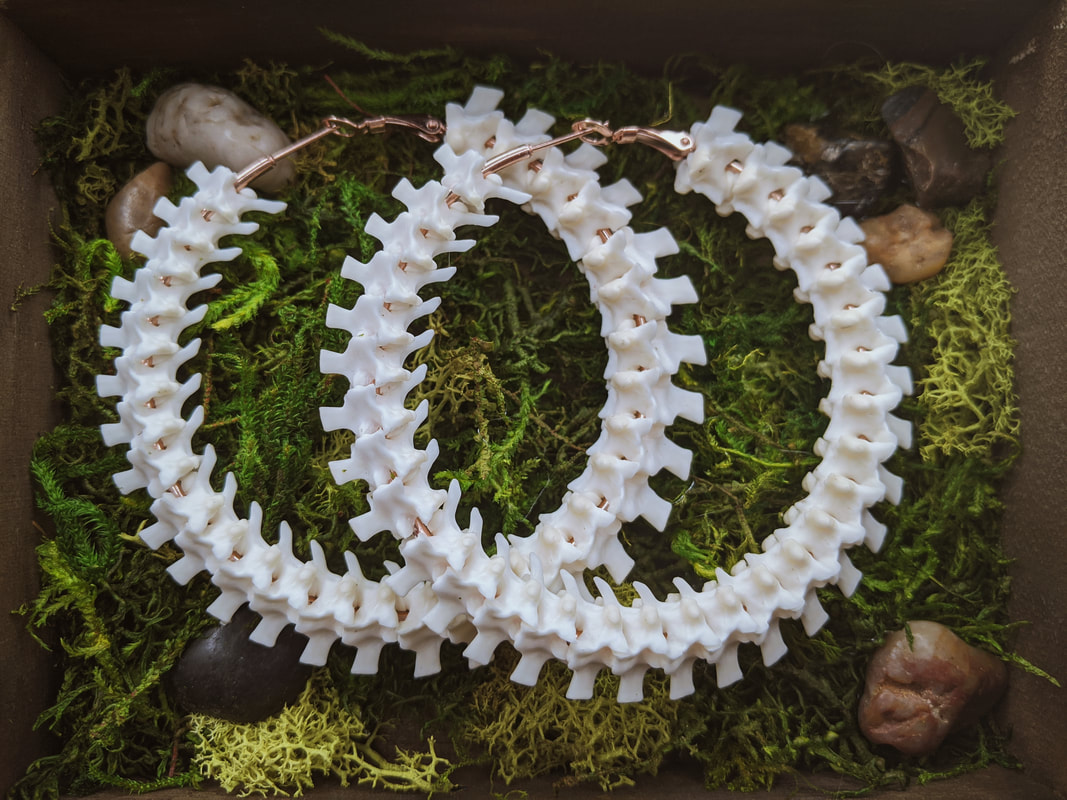
Working together with Earth and the natural cycle of life, I source my materials as ethically and sustainably as possible. Instead of producing more plastics, using synthetic materials and overall creating more waste, I use what is given up after death. Bones of deceased animals, feathers that have been shed and not plucked, pelts from natural death and roadkill, stones, twigs and moss found about; all of these sources are carefully researched and attained to work best with the natural order... With that being said, I`d like to go into depth about the process from which death evolves to new life as adornments, and how ultimately beautiful and graceful Earth`s cycle of life truly is. It starts with life. 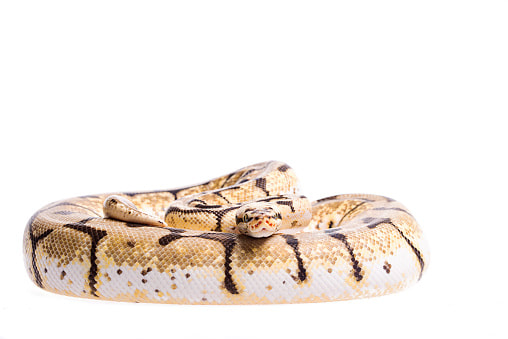 Ball pythons are a common snake in the States, cherished for their mellow attitudes and relatively easy care. They aptly earned the name "Ball Python" for their tendency to curl themselves into little balls, usually while snuggling under a cover. They range in size from around 3'-5', and can live up to 30 years...however, the long lifespan isn`t always the reality for these critters. The Ball Pythons I source come from various breeders and pet stores in Florida. None are bred, hunted or killed for this-instead, they perish naturally, in various stages of their lives. Instead of letting their deaths end there, the carcasses are taken to the next step; Dermestid Beetles. 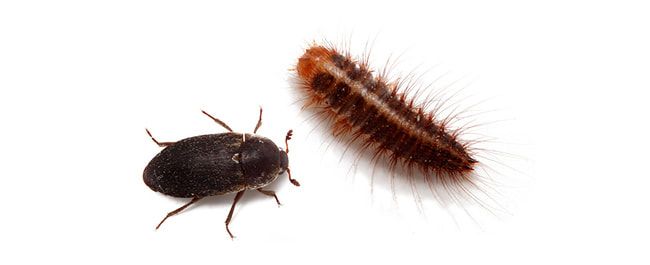 Rather than going the route of chemical processes or boiling until the meat falls off the bone, Dermestid Beetles are a wonderful way of cleaning the bones while keeping with the natural order of things. A large amount of adult beetles (from a colony of 500 or more) can rapidly eat away at the meat and muscle in a few days, to in as little as 24 hours depending on the size of the carcass. Not only is the quality of the cleaning superb compared to many chemical processes, but the death creates life and sustenance for the beetles. 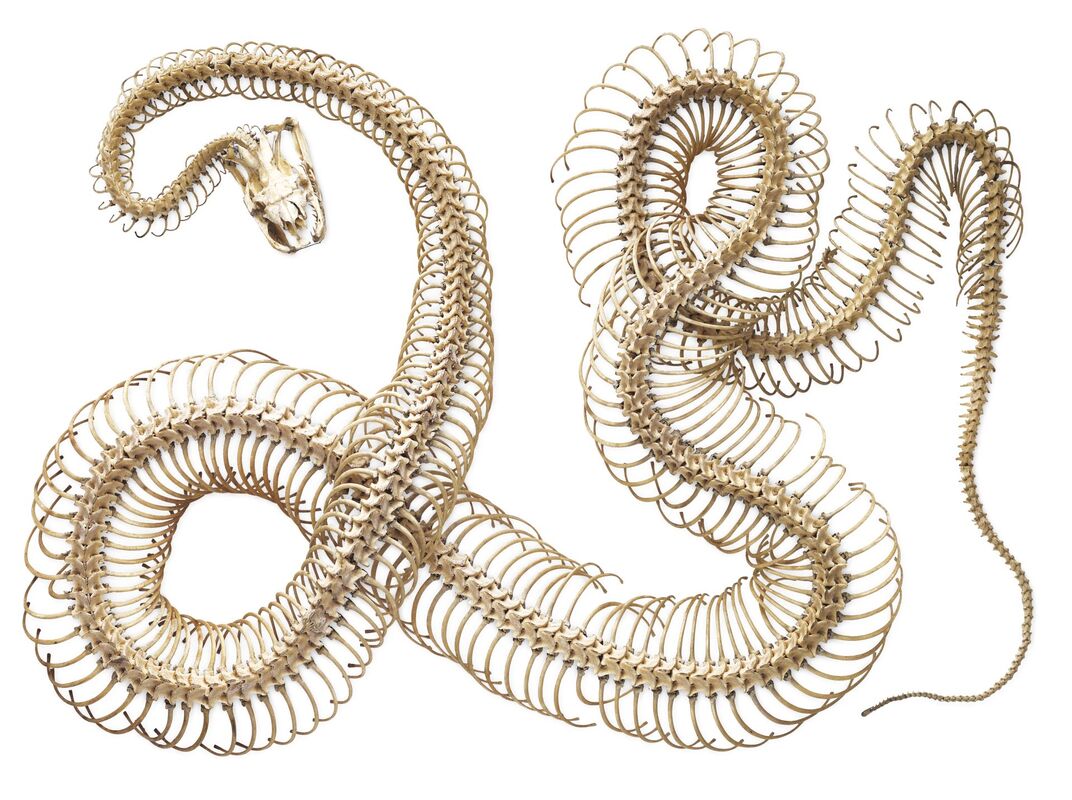 Below is an excellent video of and a deeper look into the process. Here the bones are separated and organized, where I then use them in my adornments. Keeping with my materials mentality, I use high quality metal, wood, sinew and leather along with the bones to ensure not only a beautiful product, but one from nature that can ultimately return back into the Earth, completing the cycle.* Each piece is uniquely handcrafted and cared for, all with sustainability in mind. My hope with these pieces is to inspire the same fascination and curiosity I myself have for science, and invoke a deep love for the balance between life and death. I hope this gave some insight into the process and clarified the MANY questions I am asked about these pieces-thank you for being curious! Check out listings in person or on Instagram at my designated wears page, @lostadornments
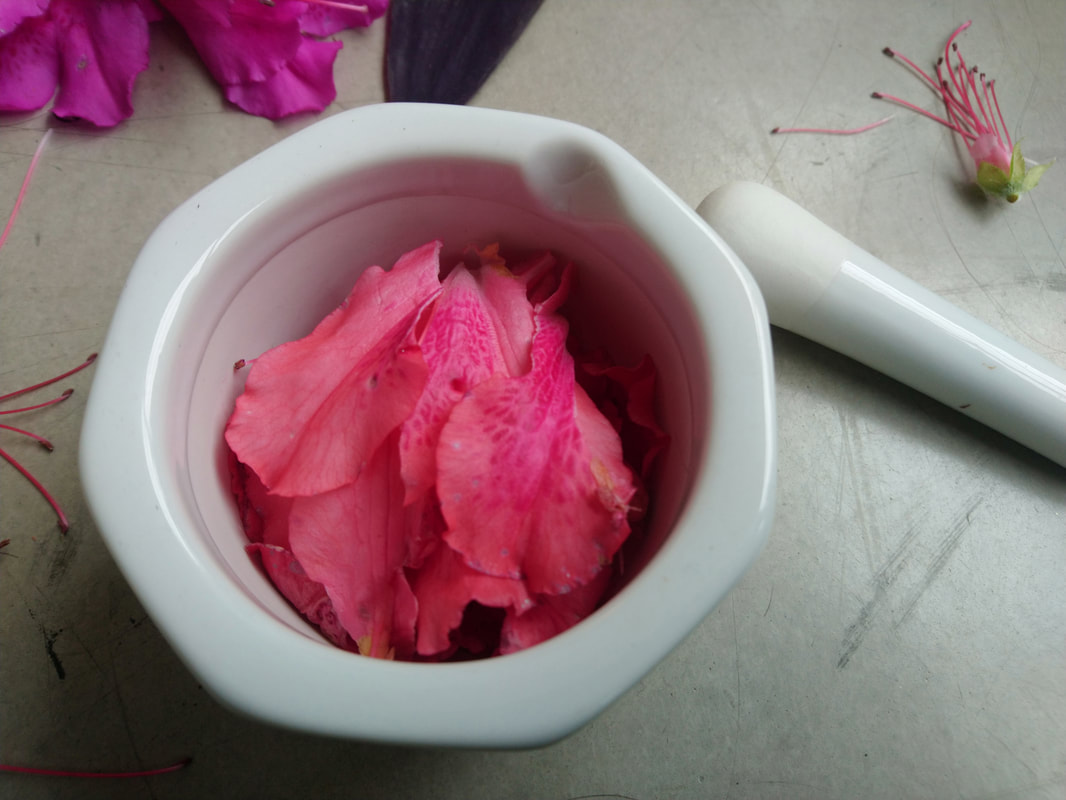
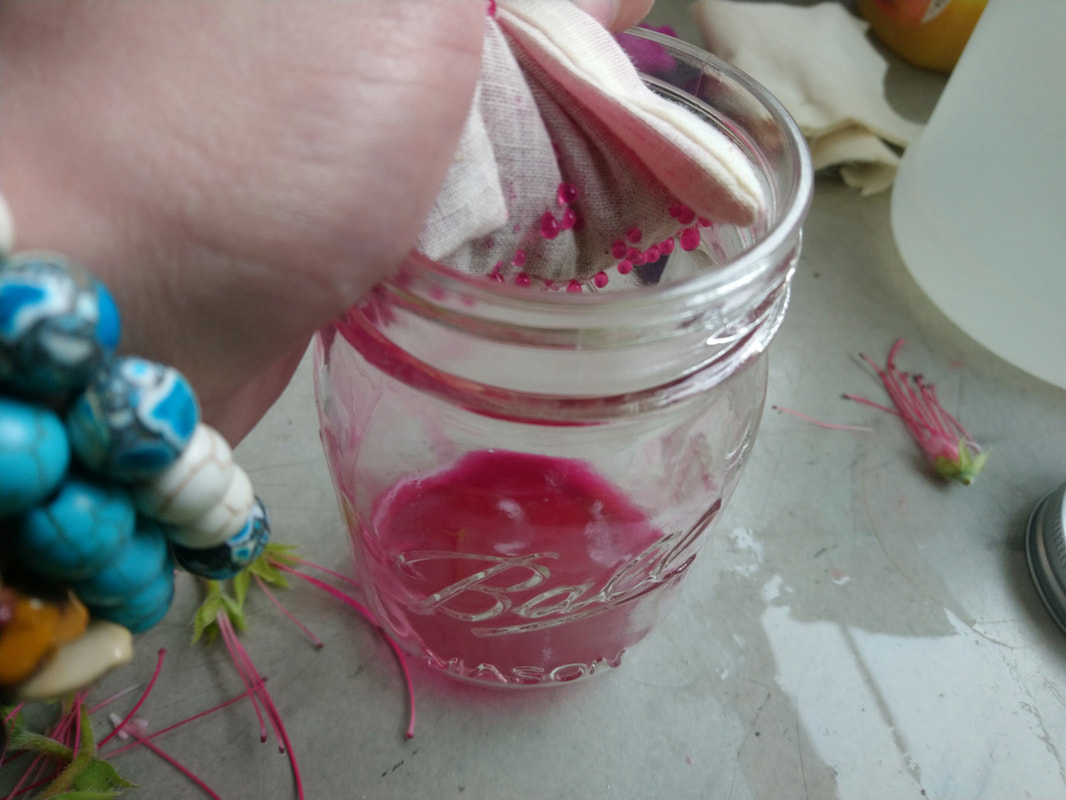
More posts about the process and sourcing will come in the future as my craft and research continue to evolve. If you have any further inquiries, I would be happy to answer. *The only exception to natural materials is the "Tar Pit" style of adornment, as it is hand-painted in numerous layers of acrylla gouache and finished off with an acrylic varnish.  A week ago, I was walking around and noticed some vibrant flowers growing in a park. There were various shades of pink and I knew I had to try to extract some pigment from them. The ink you can make from them is low-cost, as all you need to buy is distilled white vinegar (I already had some around the house) and an essential oil (optional). Materials Needed:
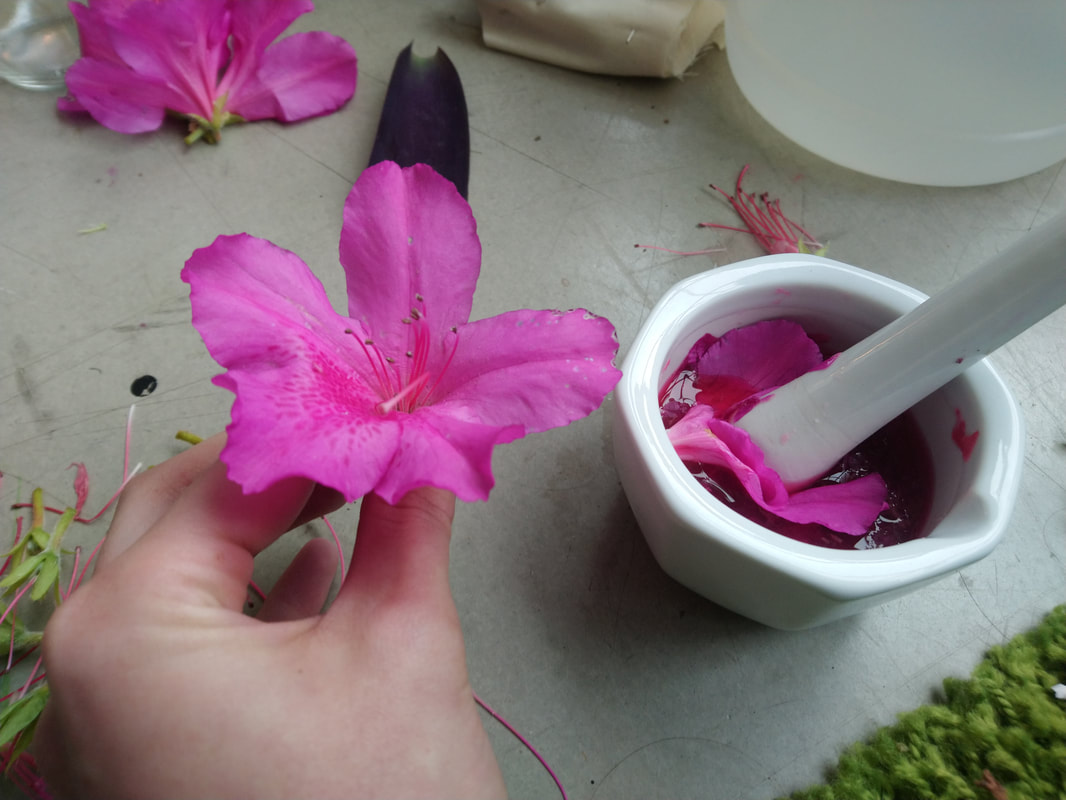
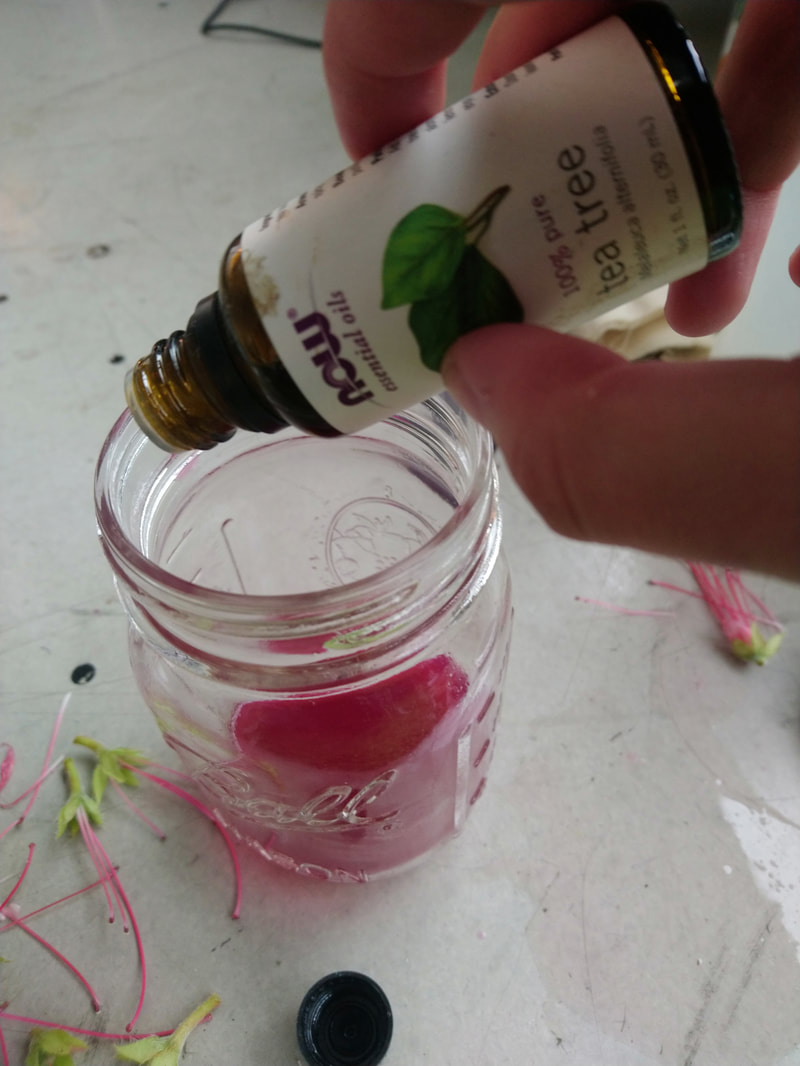
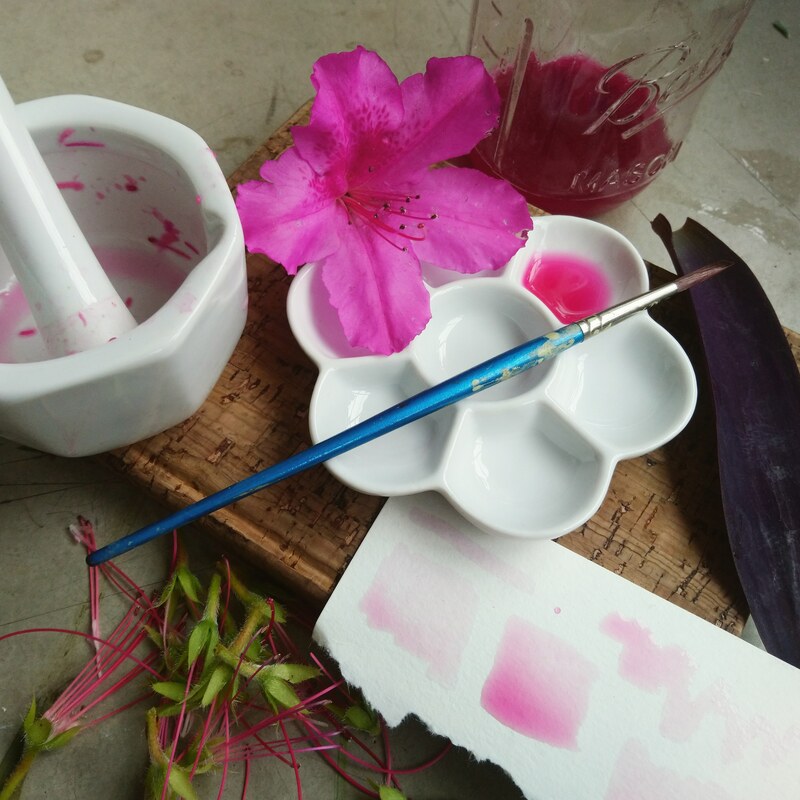
Wherever you go, chances are there`re flowers growing somewhere-they may even be in your yard! Scrounge around for some specimens, there is no rule to what you should pick. Different colors will produce different results and it`s fun to see the variations you can achieve. While I picked pink/ purple pink flowers, and my ink while wet looks pink, dried, it transitions to a beautiful purple-indigo. Experiment with the world around you. Ensure that you gather fresh, un-wilted specimens, and about two handfuls. 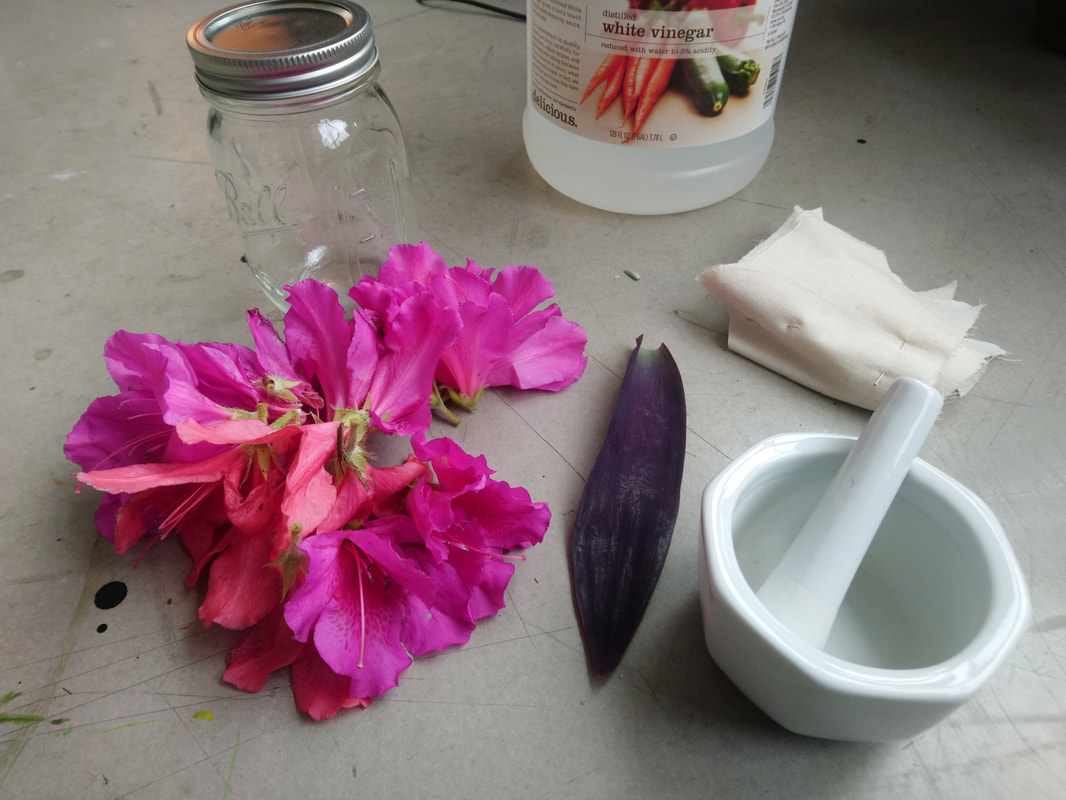 When you return home (or have your materials, this is also easy to do outside), pull the green stems and bits off your plants. I chose to pull the petals and use them, instead of the stamens, but you can play around with this. Place a good amount of petals in the bottom of your mortar and pour about a Tablespoon or two over top them. Take your pestle and work some elbow grease, working in circular motions. The more thorough you are, the better pigmented your ink will be. As you continue, add more petals into the mixture. If you find that you need more vinegar, feel free to add it. It`s easier to start with less so you can control the color more effectively. Upon incorporation of the petals, it`s time to strain out your new ink! Take your fabric or fabric bag, fit it over your jar (or any medium-small-mouthed container. Either hold in place with a rubber band, or the lid so it won`t fall in. If you`re using a strainer, skip this step. Pour your mixture through the strainer or fabric, getting all the bits. With your hands or the pestle, squeeze or push the liquid through into the jar. Try to get as much of the liquid through as you can. Remove the solid material and compost it. With the remaining liquid, to better preserve it, add two drops of tea tree or thyme oil. This will help prevent molding. At this point, you can either gather more petals, add different colors, or change the ratio of vinegar to edit the color. Shake well. Grab some paper (I used watercolor paper) and a brush and try out your new ink! As there are countless species and shades of flowers, there really is an endless array of colors that you can achieve. As mentioned earlier, the wet vs. dry color pay-off can be a surprise to you. Different mixtures will have different results and this is definitely half the fun. While I wasn`t expecting the blue, I quite enjoy it. See what you discover, either way, every new flower will seem a new opportunity.
You can store this ink for a few months in an air-tight jar or bottle for later use.  This past weekend, I took a trip out to Lake Sinclair, not only for some fresh air, but for some new art supplies. Charcoal is an easy toe-dip into the world of creating your own materials and pigments, and is virtually free. Materials Needed:
Take a gander outside. You don`t even need a nature preserve or forest for this; some clippings from your neighborhood plants or sidewalk shrubs will also work. It`s wise to only take a few samples from any given plant, you don`t want to stress the poor little saps out too much. Gather a handful of cuttings, various thicknesses and species do in fact work-different varieties will produce different results and this is fun to experiment with.  Cut the samples to size, to lay in your tin. I tried to keep mine about Crayon sized. You can mix it up with some more green twigs, and some more dry ones. Take your filled tin and make sure the lid fits snugly, as you don`t want to lose all your cuttings to the fire. Have a decent-sized fire built, enough that the flames are big enough to stay lit. With your tongs, wrench, or spatula, lay the tin on top of the flame. Wait about 15-30 minutes, depending on the size of your fire. Carefully remove the tins and rest somewhere where they wont catch fire or melt through somthing. Let rest about 10 minutes. Congratulations, you now have your very own charcoal! Things to do With Your Charcoal:
 I hope this was fun and that you give it a try, more tutorials like it will follow!
If you want to find my art and see more process and behind-the-scenes, follow me on Instagram, @lostinthewoodsart! |
Archives
September 2023
Categories |


 RSS Feed
Lost in the Woods
All Rights Reserved
©2023 Lost In The Woods (Ariana Bennardo)
©2023 Lost In The Woods (Ariana Bennardo)